This article illustrates how to get started with the WiFiG25
Requirements
In order to get started with the WiFiG25 Board you need:
- One WiFiG25 Board
- One USB Cable(Micro USB to USB A)
- a PC with Linux or Windows wired on the same LAN
WiFiG25 which contain all you need to follow this article are available on the our webShop. Each single part is also available.
Step-by-step guide
- Insert the USB cable into the Board Micro USB connector, and then plug it to PC.

- WiFiG25 Board has not power switches on-board so when USB Cable is plugged in to thePC, it turns on immediately.
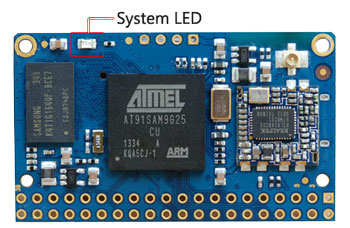
After about 20 second the red system led on WiFIG25 module will start to blink in this way:
SHORT ON - SHORT ON - PAUSE
this means that the Linux Kernel is loading.
If the WiFiG25 doesn't blink it, it means the board hasn't found a valid Linux Kernel image on Nand flash, see the follow chapter to update the system to the Nand Flash.
After about 30 seconds Linux will be on and you will reach it via Virtual LAN that was created by USB device.
After the system boot success, it is possible to communicate with the WiFiG25 Board using:
- First Using it, only connect the Board to PC with the USB Cable
- the SSH client like Putty on Windows or SSH on Linux to have access to the command line prompt (Using the SSH session)
- If the board connect a Router via WiFi(How to configure the WiFi password )
- One SSH client like Putty on Windows or SSH on Linux to have access to the command line prompt (Using the SSH session)
- If you connect the USB_to_Serial module to the board Debug port
- One Serial Terminal Emulator like Putty, Hyperterminal on Windows or Minicom on Linux using the serial debug port(Debug Port Interface)

